
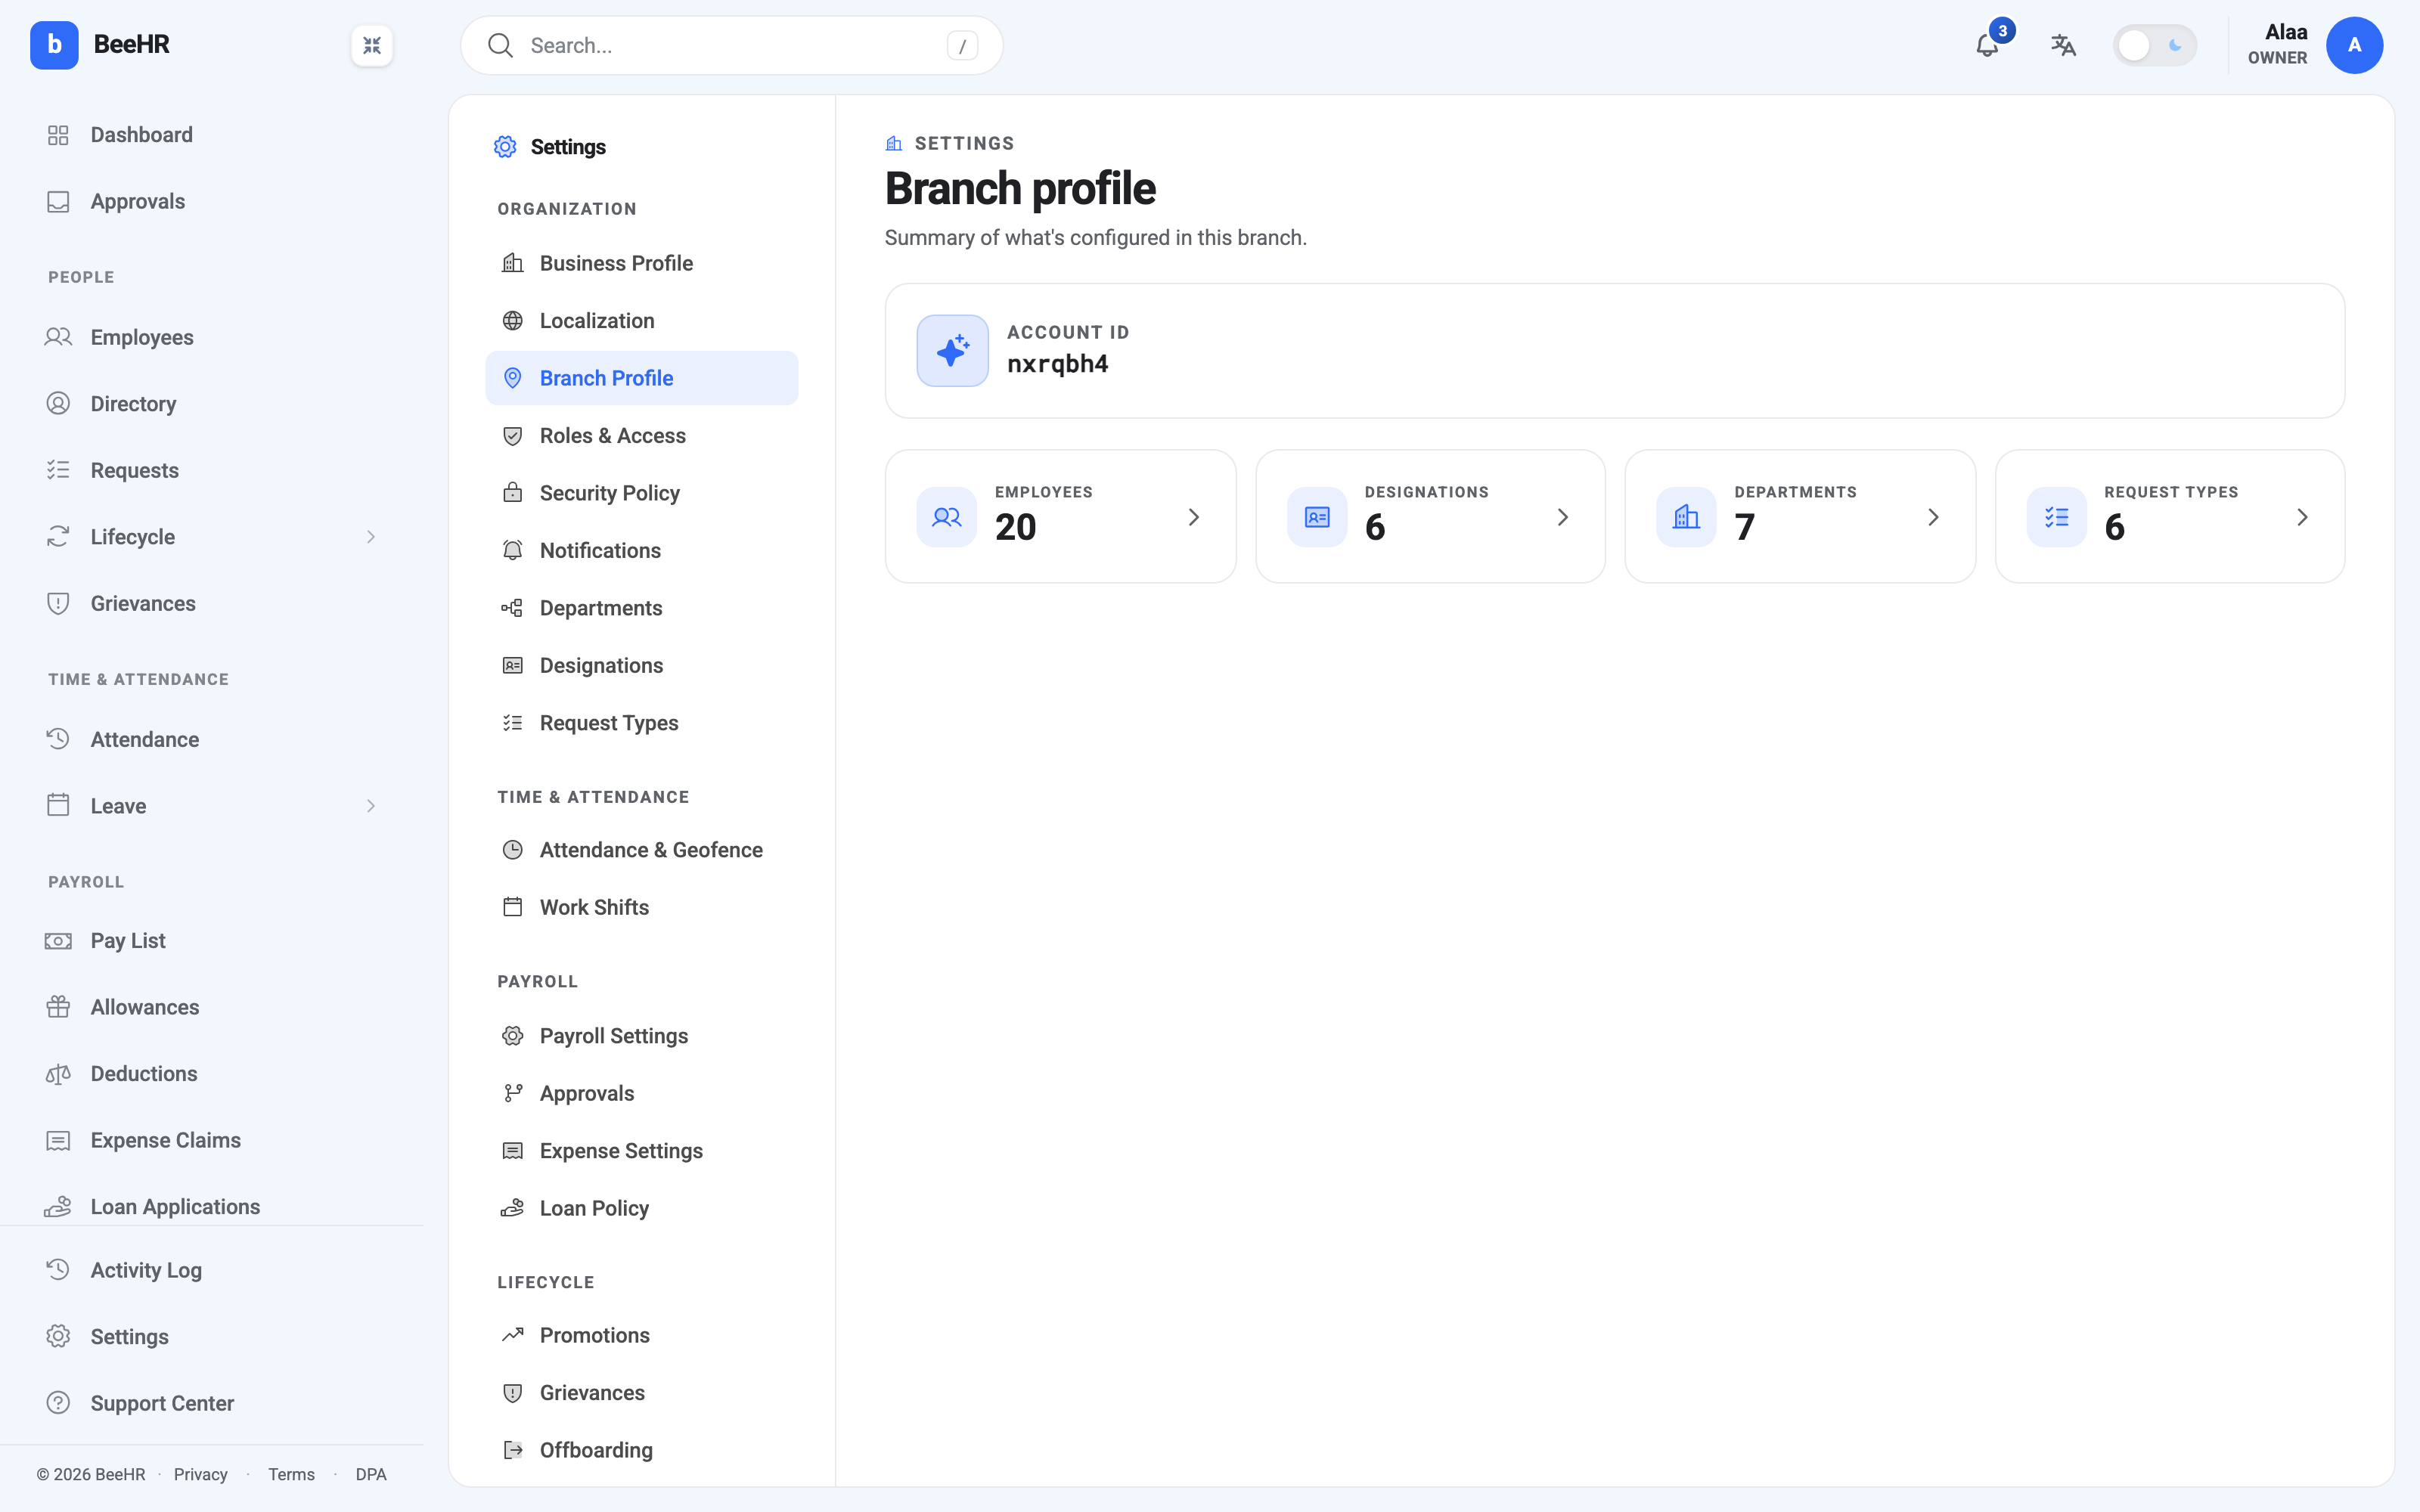
Settings → Branch Profile is the smallest panel in Settings, and the one most likely to send you somewhere else. It’s a summary of what’s configured in the branch you’re currently working in — not a form.
What’s on it
Account ID identifies your tenant. The same value appears on Your Company Profile, and it’s the code that forms your SpeakUp portal address.
Four count tiles — Employees, Designations, Departments and Request Types — each linking through to the screen that owns it. They’re a sanity check rather than a report: a designation count of 1 on a company of fifty says the catalogue was never set up.
That’s the whole panel. There is nothing to edit and nothing to save.
Where branch settings actually live
The name misleads, so it’s worth being direct about what this panel is not:
To add, rename or close a branch, go to Branches under Company in the main sidebar. That’s where the branch list and its lifecycle live — Branches: Adding and Managing Locations.
To set a branch’s working hours or weekend, use Work Shifts. Shifts are what define working time, and they’re assigned per employee.
To set the geofence for a location, use Attendance Settings, which is where clock-in locations are configured.
To change a person’s branch, edit their employee record, or raise a transfer if it should be recorded as a lifecycle event rather than a correction.
Why “this branch” matters
The counts describe the branch you’re currently operating in, which for most accounts is the only one. In a multi-branch company, what you see across BeeHR is filtered by your branch and your role’s data scope — so two administrators can open this same panel and read different numbers, and both be right.
If a count here looks wrong, check which branch you’re in before concluding data is missing. Scope is explained in Roles and Access.